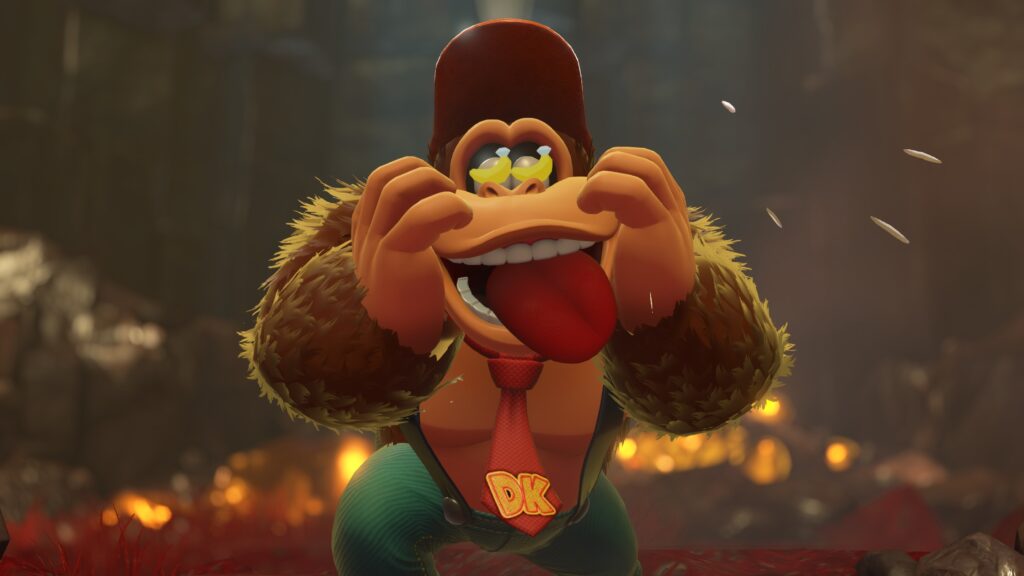
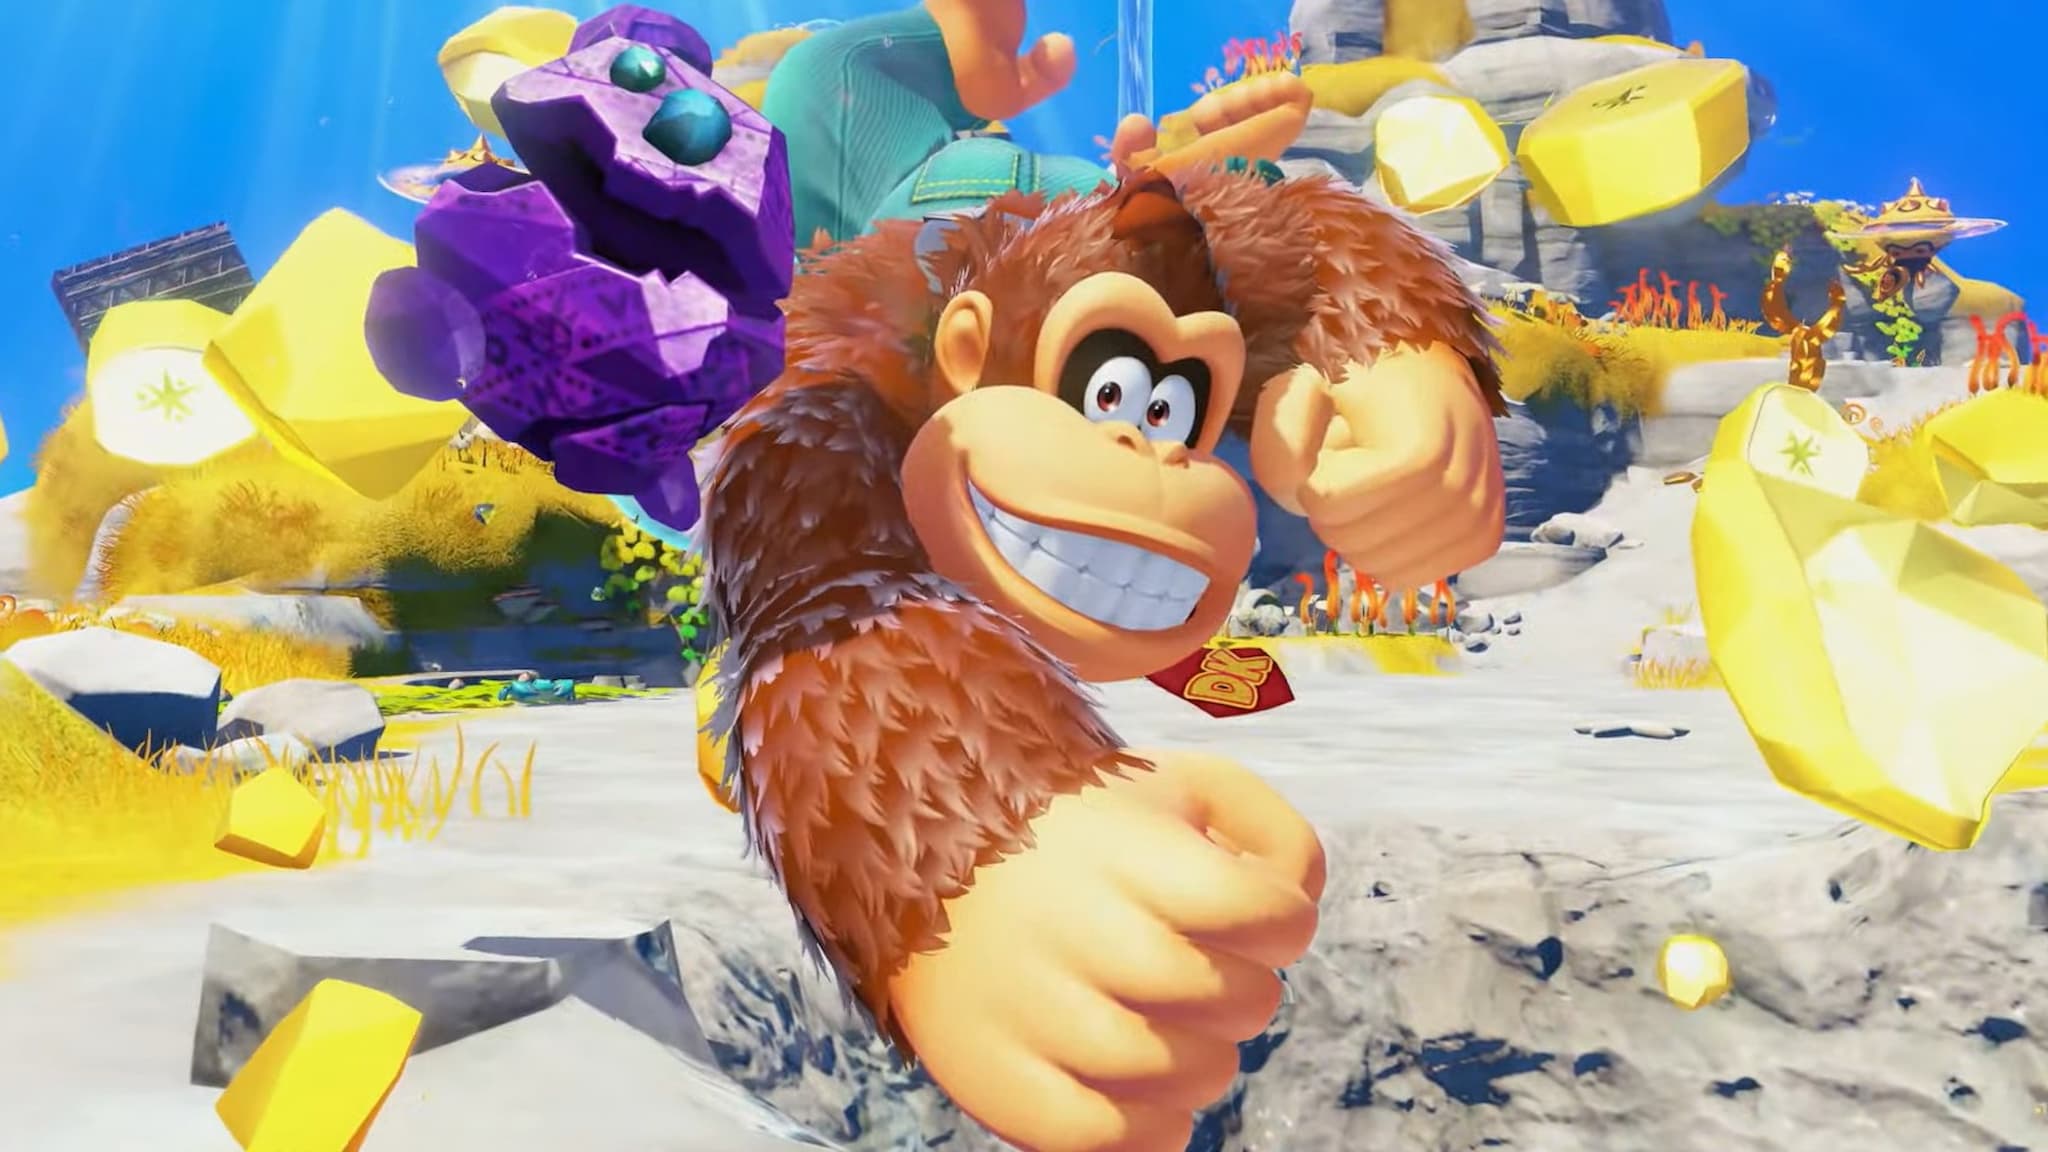
Donkey Kong Bananza is filled with unique and exciting areas for DK and Pauline to explore in there underground journey, each with its own creative concept and design. But which of the layers the two explore are the best ones? Well, here’s my ranking of every layer in Donkey Kong Bananza. This list will feature every underground layer from sublayer 100 to the Planet Core. So, without further ado, let’s get started.

#17: The Divide (SL 400)
The Divide isn’t meant for much exploration, simply serving as a gateway to one of two deeper layers, basically being a fork-in-the-road without anything else to it. There’s literally nothing here otherwise so it barely counts as a world on its own.
#16: The Junction (SL 700)
Like The Divide, The Junction is similarly not meant for exploration, only being where the paths from the two paths from The Divide meet. There’s a bit more depth to The Junction with both sides being blocked off, making clearing both previous layers necessary, as well as having your first fight against Void Kong. Otherwise, The Junction also barely counts as anything more than a way to connect the two forks in the road back together.

#15: Forbidden Layer (SL 1500)
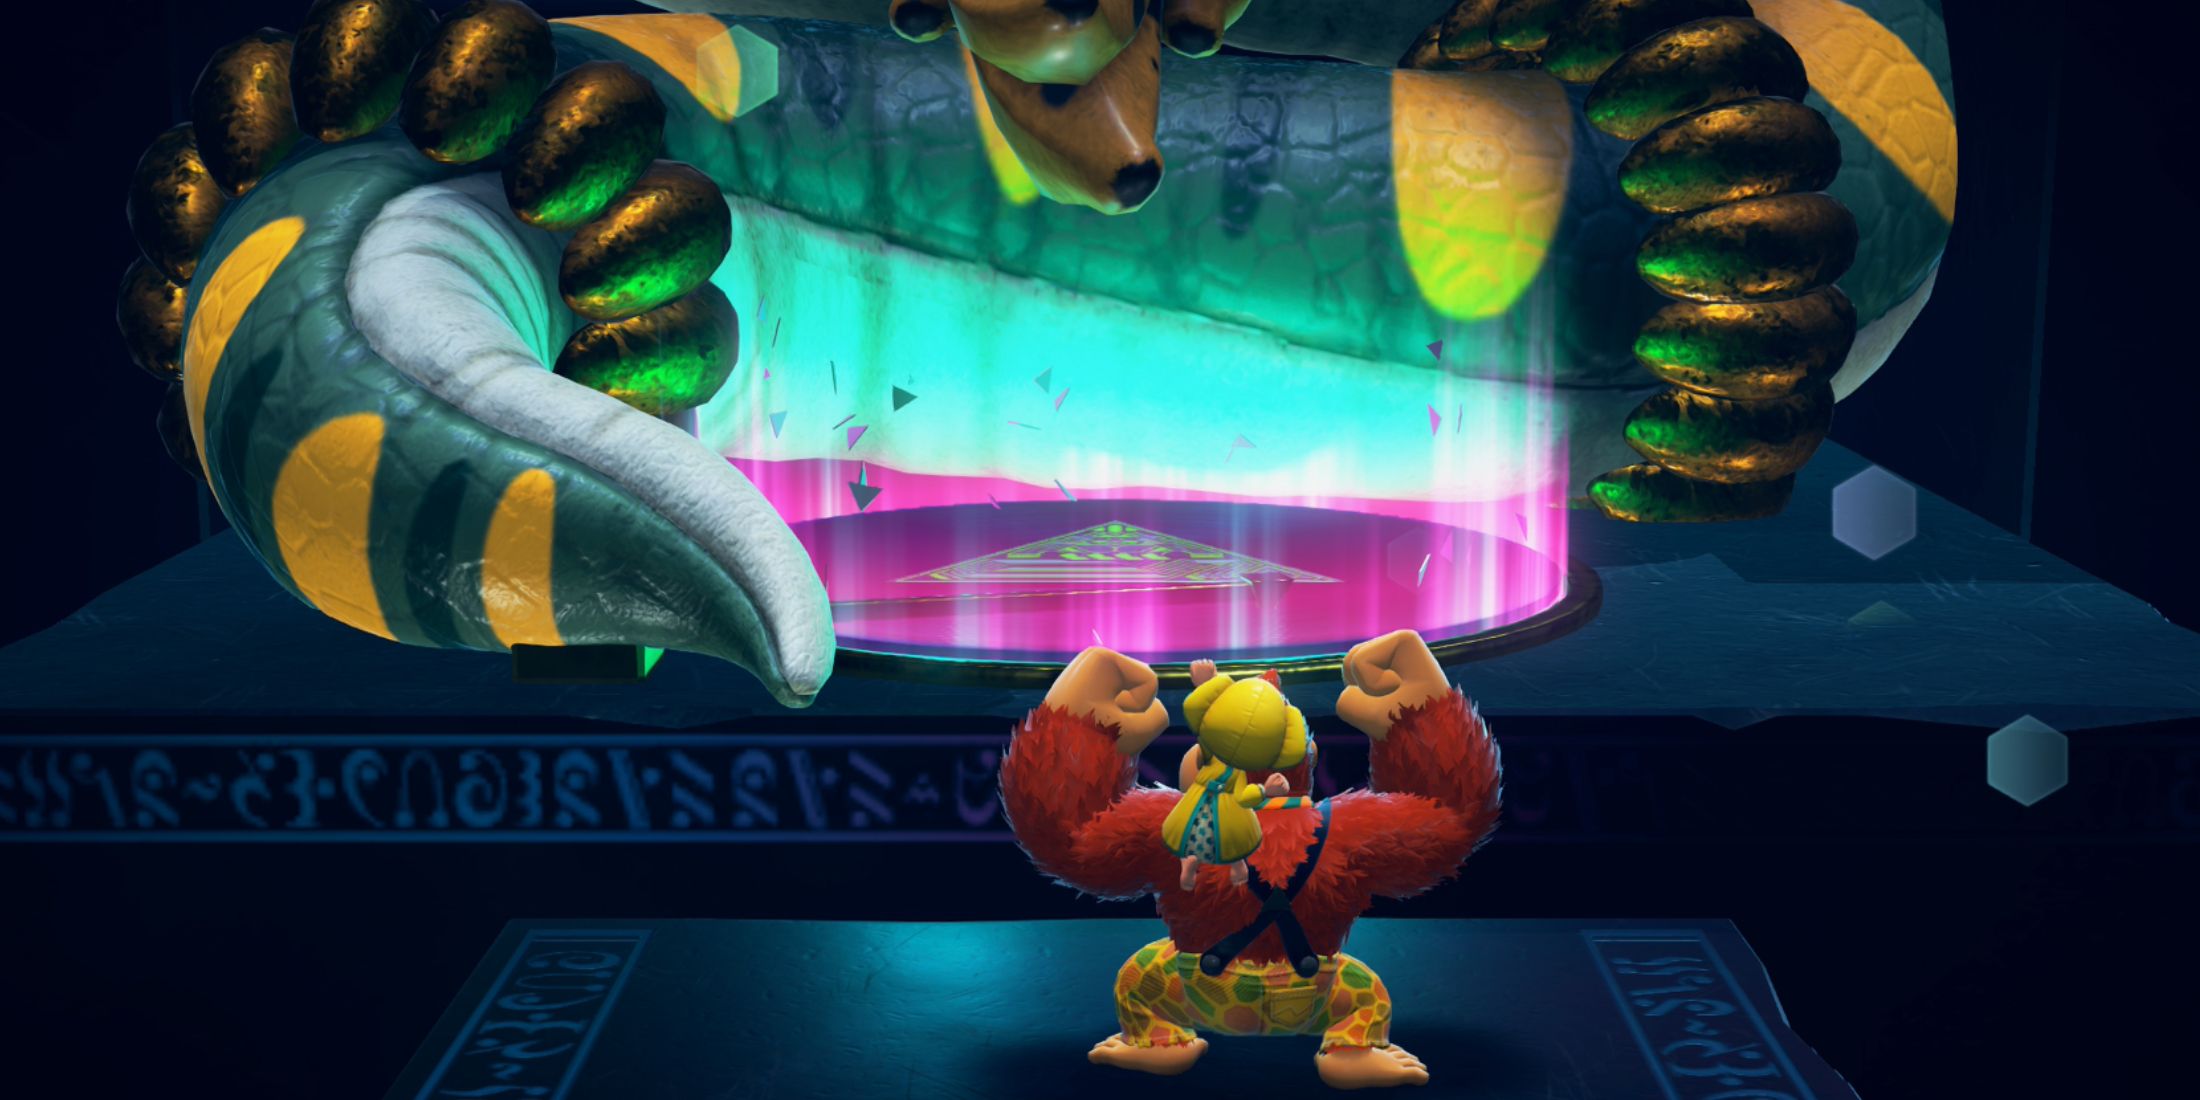
The Forbidden Layer is the 2nd-to-last layer you’ll explore in Donkey Kong Bananza, and while it does a nice job setting up what comes after it, it’s overall a pretty bland layer without much to make it interesting. Once you arrive, you’ll have to pay off these Fractones in order to be able to create paths in midair by throwing chunks. This will help you cross the multiple towers built in this layer to reach the giant wall blocking the Banandium Root. Again, it’s fairly bland as a standalone layer, and the Void Kong fight is essentially the same as previous versions. The only highlight is of course the King K. Rool reveal, but otherwise this isn’t the most exciting part of the game.
#14: Landfill Layer (SL 1000-1001)
Most of the Landfill Layer is seriously just digging. It almost feels like it’s just a lazy excuse for a layer, since there’s barely anything here. The boss fight is also really stupid, as it’s incredibly annoying trying to elude all the enemies on screen to defeat the boss. It’s a very forgettable and overly-simple layer.

#13: Ingot Isle (SL 1-10)
Ingot Isle is the first area you explore in the game, with the Kong mining operation sinking into the ground after being attacked. This isn’t a huge area to explore, but it is fairly large and does a nice job of getting players used to the controls. It serves as a pretty good introductory level, but that’s mostly it.
#12: Racing Layer (SL 1100)
This almost doesn’t feel like a layer. Basically, when DK and Pauline arrive, they sign up to race against Diddy and Dixie Kong on Rambis. This is fun, similar to the Bound Bowl Prix in Super Mario Odyssey, but the race is pretty simple and once you win, that’s it. Again, it doesn’t even feel like a layer, almost like it should be part of another layer.

#11: Groove Layer (SL 1300)
After getting eaten by a massive eel under Void Kong’s control, DK gets locked up in the Groove Layer, and must escape to find Pauline. What’s funny is that the guards just let him get out pretty much, simply assuming he’s a good guy. The layer overall doesn’t have too much to it, but it’s still fun exploring its areas to get the music to ring through the hallways again in order to break the eel’s hypnosis. It’s fun, but that’s about it.
#10: Planet Core (SL 1600-1609)
While it doesn’t quite stack up to other final levels from other Nintendo platformers, the deepest layer in the game’s underground world is still pretty fun. It’s also fairly long, with DK having to pass many different challenges that take advantage of his many different moves. It’s definitely a pretty fun final level, but it’s not the most challenging.

#9: Resort Layer (SL 800)
While the Resort Layer is really beautiful and has some creative ideas, its main problem is that it’s super short-lived. There’s only one sublevel and even when you play thoroughly, it won’t take you long at all to finish this layer. It feels like this layer is trying to recapture the magic of Seaside Kingdom from Super Mario Odyssey — only with less detail, smaller size, and because DK can’t swim underwater, you lose the ability to have an entire world built beneath the surface. It’s still fun to explore, but it’s way too short.
#8: Hilltop Layer (SL 200)
The Hilltop Layer is another layer that’s just way too short. It ends much quicker than you’d expect — almost abruptly. The layer will probably only take you around ten or so minutes to finish, and it’s basically just a vast, open area without much to see. And since its inhabitants are the Fractones, who of course appear throughout the game, this layer just isn’t very memorable.
#7: Radiance Layer (SL 1200-1204)
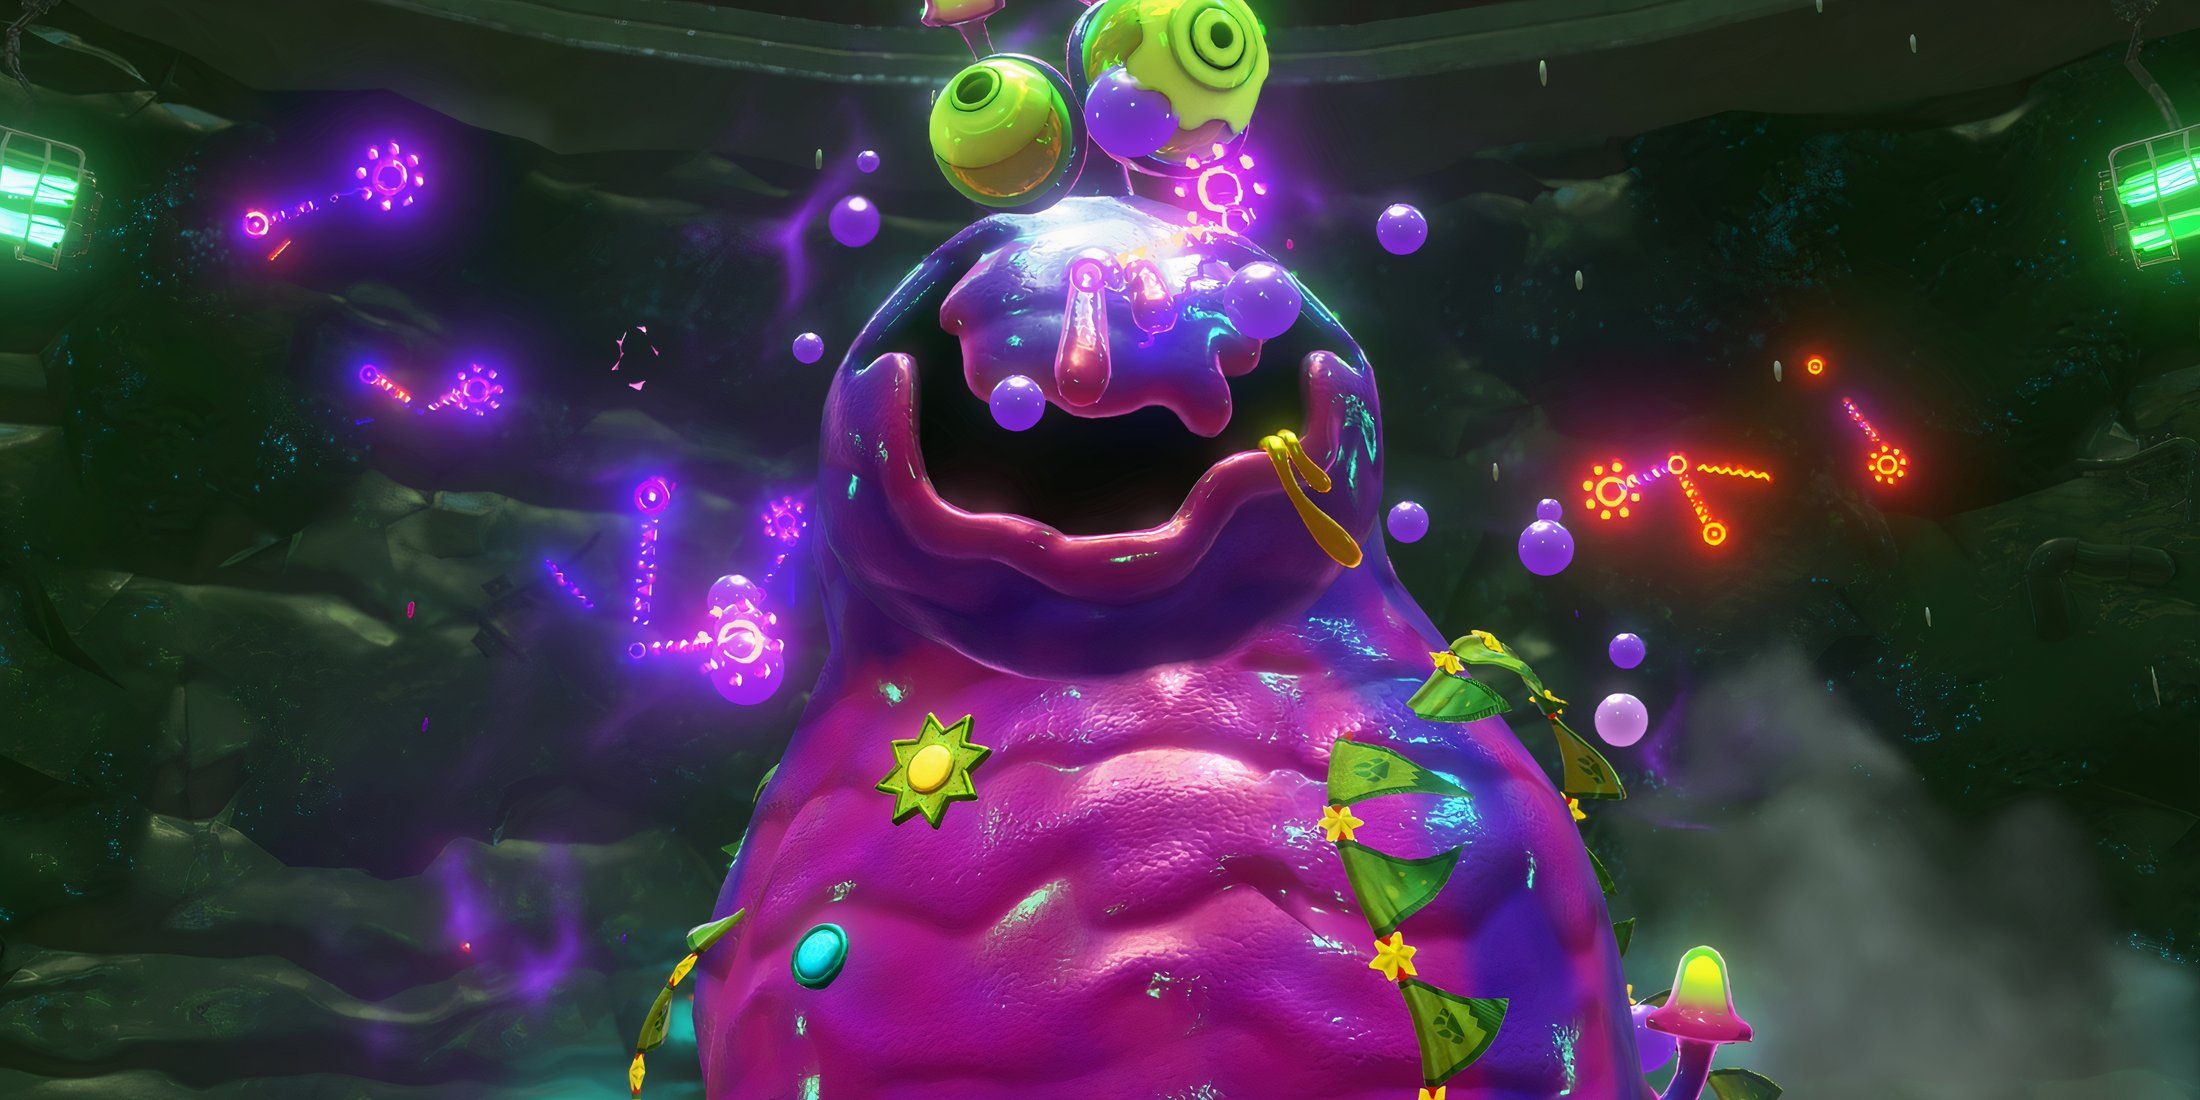
The Radiance Layer starts fairly simple before expanding greatly the deeper you go. The layer’s main concept is in its usage of light, where DK can pick up glowing chunks that reveal areas blanketed in darkness. Exploring the many areas to find record pieces for the snake Elder is like exploring a museum showcasing many different aspects of light. It’s a fun and unique place to explore.
#6: Tempest Layer (900-902)
The Tempest Layer has tons of different ideas mixed together, adding up to one of the most expansive and fun layers to explore in Donkey Kong Bananza. The layer follows a bat-like creature that can control the weather. This leads to some fun sections across the layer’s many sublevels. There’s a lot of creative areas to explore, and it all makes the Tempest Layer a highlight of the game’s latter half.
#5: Feast Layer (1400-1401)
The Feast Layer is one of the few layers in Donkey Kong Bananza where despite being one of the larger areas to explore only consists of two sublevels, with the first being much larger than the second. The layer is themed to a giant food-filled park, where DK will have to explore its many regions to press the burger switches in order to rebuild the massive burger in the center of the park. It’s definitely fun to explore, and this is easily one of the most detailed layers in Donkey Kong Bananza. Plus, the boss in the second sublevel is pretty fun, even if it’s another very simple one.
#4: Canyon Layer (SL 300-302)
Donkey Kong Bananza’s third layer is partially-themed to a desert world, and it mixes together lots of fun ideas as it’s one of the game’s largest layers. Part of this includes jumping into these giant smokestacks to discover the lower sublevels, which have some really cool design styles. The Canyon Layer is a beautiful layer and has some creative designs all throughout.
#3: Lagoon Layer (SL 100-102)
The first layer DK will explore is one of the most expansive ones, being the Lagoon Layer. Here, DK will have to explore the beautiful sublevels of this layer in order to refill the water that has been almost completely drained. This is another beautiful area of the game, and it acts as a great starter world for the game. It’s just sad that you don’t unlock Pauline until the end of the layer.
#2: Freezer Layer (SL 500-503)
The Freezer Layer is probably the largest layer of all the layers in Donkey Kong Bananza, and it will certainly take you the most time to complete. The layer consists of two main concepts, being the ice sections and the lava that can be evaporated by ice chunks. The layer is really fun to explore, and because it’s so big there’s so much to explore here.

#1: Forest Layer (SL 600-602)
The Forest Layer is definitely one the most beautiful areas graphically in the game, with DK and Pauline exploring a vast forest that’s being flooded with poison. The main attraction in this layer is a hotel built inside of an egg, and it’s fun to explore. It’s also fun having to break through spikes, and everything adds up to a really fun layer. Plus, DK literally turns into an ostrich, and yes, it’s fantastic.
What’s your favorite layer in Donkey Kong Bananza? Let me know in the comments.
Follow us on Twitter – @RyansFortress
Follow Megahit Media on Twitter – @Megahit_Media
Follow Megahit Podcast on Twitter – @Megahit_Podcast